Edit email content
Editing an email is really simple when you know the basics, so if you’re not familiar with the blocks or elements of a template, start by reading this article.
Also, please note that your template could correspond to Template configurations. This means that account administrators manage default content (header and footer content) and styling of the template from account settings. In these cases, header and footer content will be locked for editing. Turn to your account administrators if you have any feedback regarding the content.
In this article you’ll learn how to
- Edit text
- Add a link
- Add an image
- Edit an image
- Personalize with contact data
- Personalize with content segments
- Import content
- Search and replace
Edit text
So, this isn’t brain surgery but we’ll start basic. Click on the text element you want to edit and delete the text you don’t want to keep and start typing your new excellent text content.
Sometimes you might want to change the style of your text. To change the styling of the whole text element you can select from one of your style presets. When you click on a text element all the available presetes of your template are found in the inspector, i.e. H2 (Heading 2) or L1 (Link 1). These presets are based on your original template order.
To change your element to another text style, simply click on the style name in the inspector and you’ll see the result instantly. By changing text styling this way, your entire text element will be changed.

However, you might just want to change parts of your text, i.e. making some words italic or bold. Just mark the part you want to change and select the styling in the inspector.

You can also change text alignment, font, font size and other, but if you find yourself in need of adjusting these thing repeatedly, maybe should update your template instead so that your everyday work can run more smoothly.
Link text
There are three ways of linking to your webpage. You can select parts of a paragraph and link this to your site or you can add a separate link element or a button.
To link a selected part of a paragraph, simply select the text you want to link and in the inspector you tick the checkbox Link selected text.
Then add the URL you want to link to. Optional additions to your link is Title and Name. Title will appear when hovering the link and Name can be used if you want to link to a specific section on the landing page, e.g. an anchor link.
You can also add link categories which is a method for gathering data in Carma for what type of links your contacts clicks on. Read more about categories here.

To link a link element or a button the process is the except that you don’t need to mark your text or tick the Link selected text checkbox.
Add an image
To add a new image you click on the image element you want to replace and then click on Change image in the inspector.

You can select images from your computer or a bunch of other image sources you might have, like Instagram, Google Drive or an FTP.
Select your source and find your image to upload.
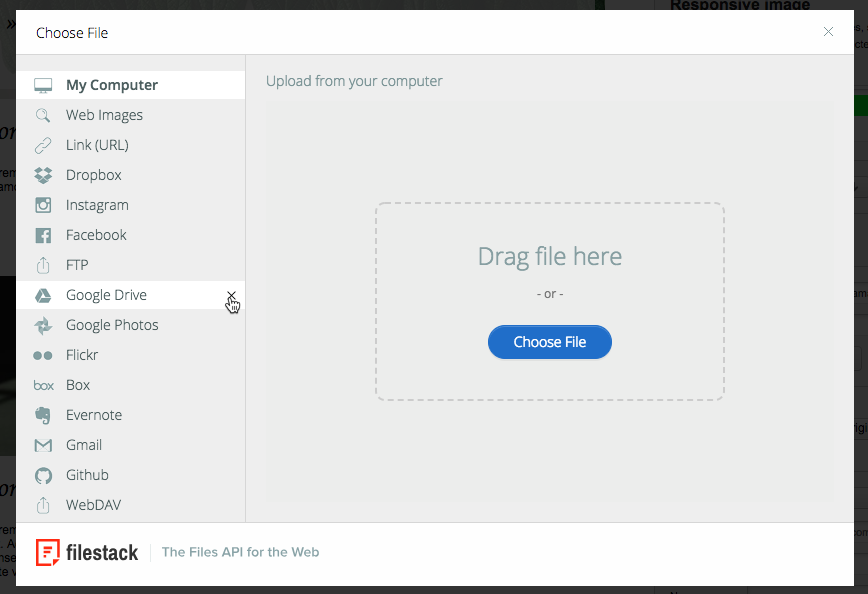
You could also just change the “Image URL” to your specific image URL if your image already is uploaded on the web.
Edit an image
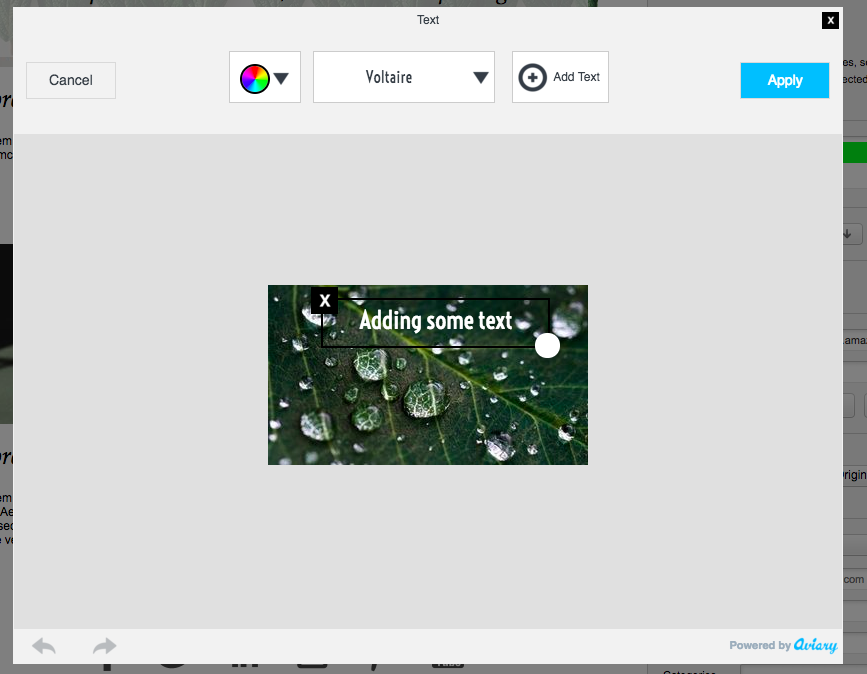
You can do some basic image editing directly in the editor. Click on the image you want to edit and then on Edit in the inspector.
The Aviary image editor will pop up and you’ll can select what type of editing you want to do in the top bar.
Personalize with contact data
You can use handlebars in the email content (and in link URL) to customize the content per recipient and to adjust the landing page with the data tied to each and every recipient.
The most common one is of course:
{{contact.firstName}}
and will grab any “first name” data from the recipients into the email where you have added the handlebar.
All available handlebars connected to you recipient data is found in the inspector under the ★A icon.
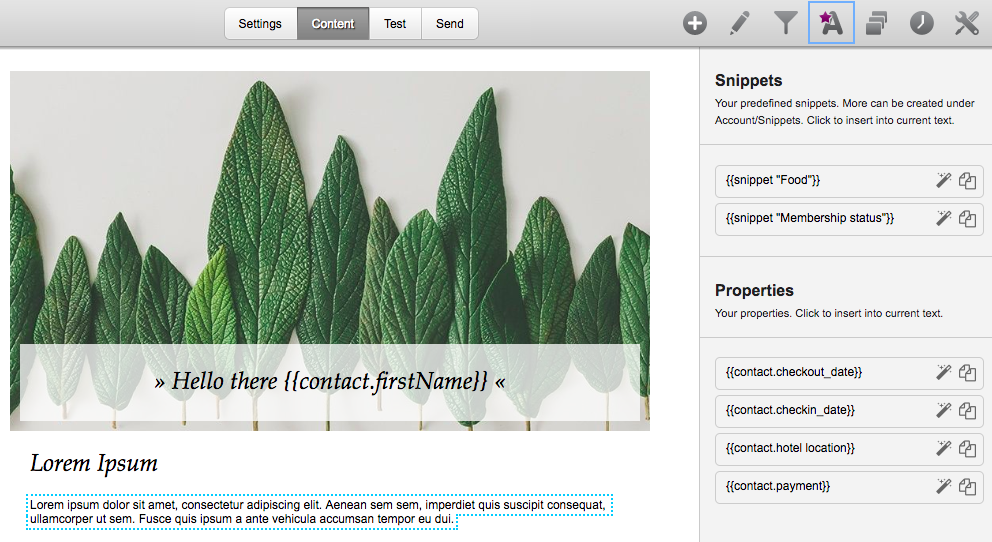
You can also modify or change the data of the attribute value, read more about that here.
Personalize with content segments
If you want to share some content with specific recipients (and exclude others) you should use content segments. Content segments are used on block level so you can edit a block, as you normally do, and then click on the funnel icon in the top of the inspector.
Find your segment and drag and drop it on the block you want to target. You’ll see a purple frame with the segment name appearing on the block you selected.
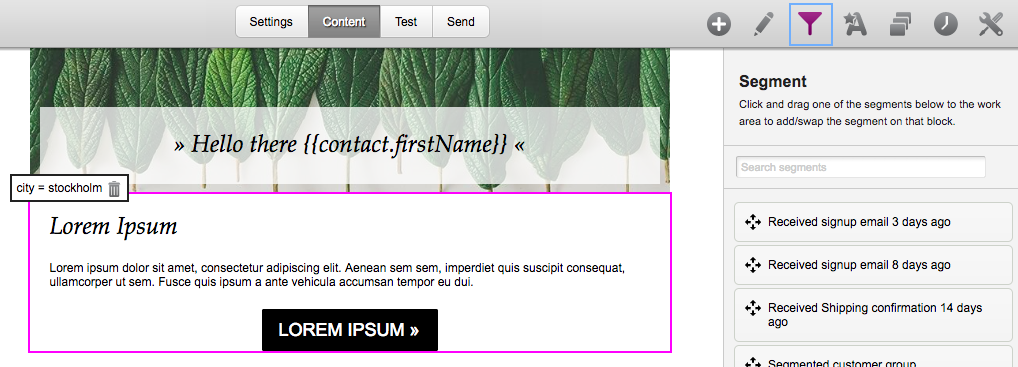
Non segmented content will be shown to everyone but only the ones matching your segment will get the segmented content.
Import content
If you want to reuse content from an already sent email or some other draft you can use the Import content functionality.
Click on the button Start import wizard in the inspector (add content).
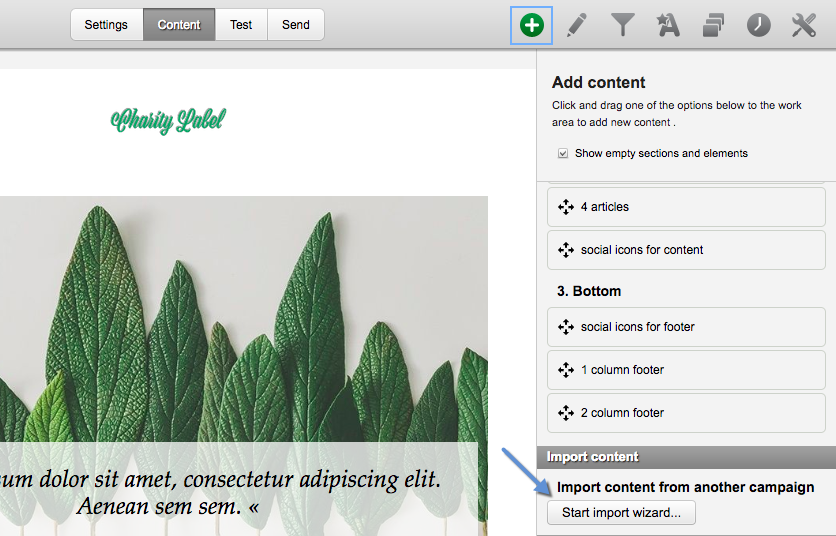
In the import wizzard you can search among all your emails, in drafts, scheduled or sent. Or if it’s a transactional email or an autosend. If your autosend or transactional is active your active version will be highlighted. Select the email you want to import your content from.
Your email will appear and you can select one or more blocks to import. To select more than one block, press command/control on your keyboard + click on the block.
And then click on Import at the top.
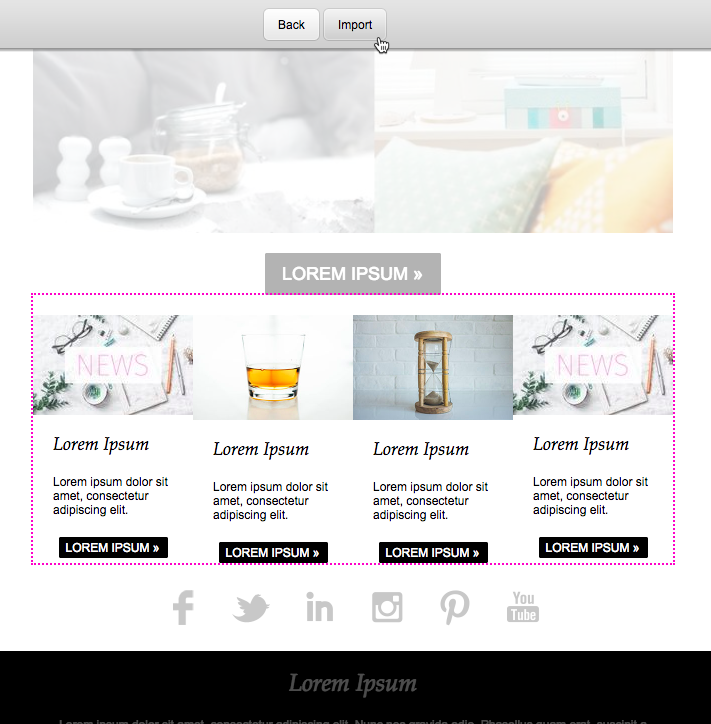
Please note that you can only import content from emails using the same template version as the one you are importing to. If you use different templates as bases for your content we cannot guarantee correct rendering.
Search and replace
You can gain a lot a time by using search and replace (Ctrl + H) when editing your drafts. To batch update text/words in different blocks or change parts of link urls or even image links can be a real time saver.
Hit Ctrl + H and select if you want to find an replace text or Link URL or Image URL. You can even act on a case sensitive level.
