
API - Usage examples
In this article you’ll find some examples on how to use our API.
The API in it’s full and below referred methods is to be found on http://”servernr”.carmamail.com/mail/swagger, where ”servernr” is to be replaced with the server number of your Carma account (www/www2/www3/www5). Click on the methods to get more detailed information.
Please note that all the links to the API below is directed to server ”www”. Update the server number to your server before you start testing.
To learn more about how to use the API, take a look at the overview. One quick thing though, Carmas Original ID is the key for you to exchange data for a specific recipient.
EXAMPLES
So, let’s say we have a web shop. In our web shop we sell food. We have a delicious newsletter where we offer different content based on the recipient’s taste palates.
We use Carma for all our 1:1 communication with our customers.
1. Signup process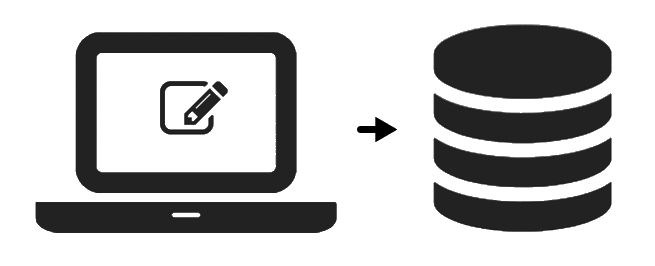
We want to set up a simple newsletter sign up hosted on our site and want the new recipients to be saved in our database in Carma. To keep it simple, the customer will only enter their email address.
After created the form on our site we need to setup the connection to Carma with the API.
First, it’s a good thing to check if the customer already exists in our database, so that we don’t have duplicates.
We use below REST method to check if the customer already exist in our Carma database:
GET /{customerid}/lists/{id}/contacts/{originalId}
If the customer doesn’t exist we use the following method to create our new recipient:
POST /{customerid}/lists/{id}/contacts
2. Order confirmation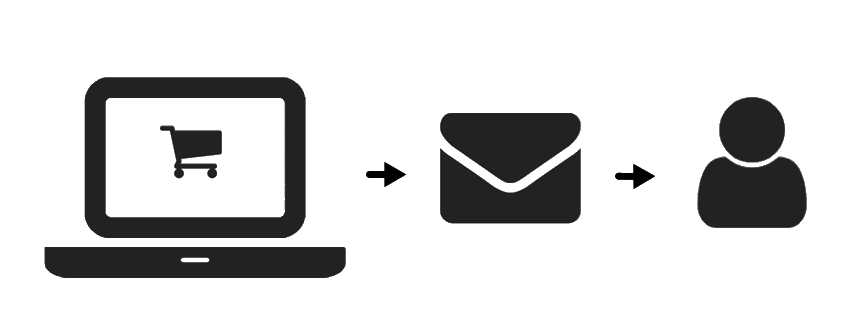
We want to set up an order confirmation so that our customers get an email when they’ve placed an order.
First step is to create the actual order confirmation email in Carma. A more detailed article on how to set up a transactional email can be found here.
The used method for sending a transactional message is:
POST /{customerid}/triggers/{id}/messages
But, it’s great that we now can send an email confirming the purchase but it would be nice to give the customer a summary of the purchase. We can solve this in different ways. We can ourselves use handlebars in the confirmation email to present the order rows. If we want a more designed layout for this data we can contact support@compost.se and get a custom confirmation email set up.
Read more on setting up transactional messages.
3. Update recipient data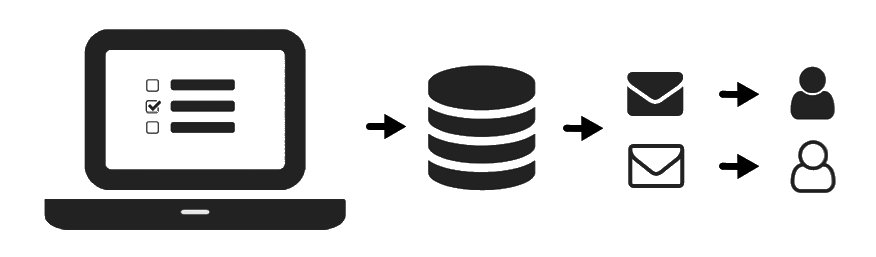
Of course we want to send relevant content to our recipients and to be able to do so, we want to know their taste palates and areas of interests. In our sendouts we therefor include a link to a profile page. We then use the collected data to create segments in Carma to target specific topics to specific recipients.
In this case we’ll host the form ourselves so first we create the profile page on our site and then we create the recipient attributes in Carma responding to the profile page choices. Our recipients can choose the taste palates sour and/or sweet. So, in Carma, we create the attributes
sour (id 100)
sweet (id 101)
Then it’s time to connect the profile page to our database Carma.
We use the method
PUT /{customerid}/lists/{id}/contacts/{originalId}
To update attributes we can either use the attribute name OR the attribute id and send the data to Carma in ”properties”:
“properties”: {”sour”:”yes”, ”sweet”:”no”}
OR
”properties”: {”100”:”yes”, ”101”:”no”}
4. Hosting unsubscribe page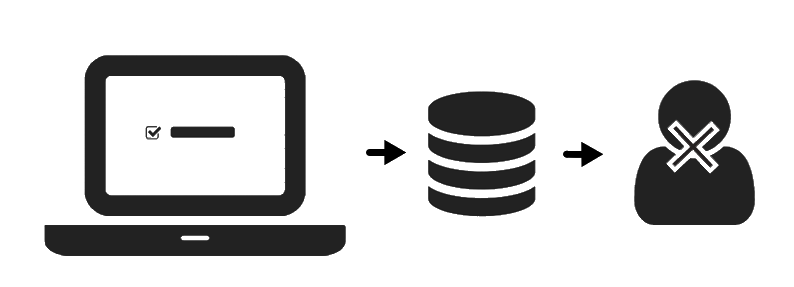
We want to handle unsubscriptions in the profile page on our end so we create the opt out page and confirmation page on our site.
We tag the link to the opt out page with an encrypted unique ID string {{message.id}}{{message.guid}}.
Example: http://www.example.com/optoutpage.html?id={{message.id}}{{message.guid}}
Then we add above link in our Carma emails and when the recipient clicks unsubscribe he/she will be redirected to our optout profile page.
Our landing page/optout page should use the following REST methods to identify the recipient and also update its status (if the recipient chooses to do so after reaching opt out page):
to get the emailaddress of the emailaddress (together with other attributes if wanted):
GET /{customerid}/lists/{id}/contacts
to change the current subscription status of the recipient:
PUT /{customerid}/lists/{id}/contacts/{originalId}/subscriptionstatus
—
So, with this setup we have a signup, a profile page (where our customers can choose preferred content or unsubscribe) and we have an order confirmation. A nice package.
OTHER EXAMPLES
5. If you want to investigate if a recipient appears more than once on one recipient list
When recipient enters landingpage / profile page you can also check if recipients appears more than once with below rest method:
GET /{customerid}/lists/{id}/contacts
6. If you want recipients to be able to re-subscribe to a list they have unsubscribed from
PUT /{customerid}/lists/{id}/contacts/{originalId}/subscriptionstatus
Note – Model schema for subscription status:
SubscriptionStatusDto {
status (SubscriptionStatus) = [‘SUBSCRIBED’ or ‘UNSUBSCRIBED’]: subcsriptionstatus for email,
mobileStatus (MobileSubscriptionStatus) = [‘SUBSCRIBED’ or ‘UNSUBSCRIBED’]: subcsriptionstatus for mobile
}