
How to create segments overview
It’s really easy to build segments in Carma but to do that you need to know the basics, so, here it is.
The segment editor consists of four parts; settings, edit, test and confirm.
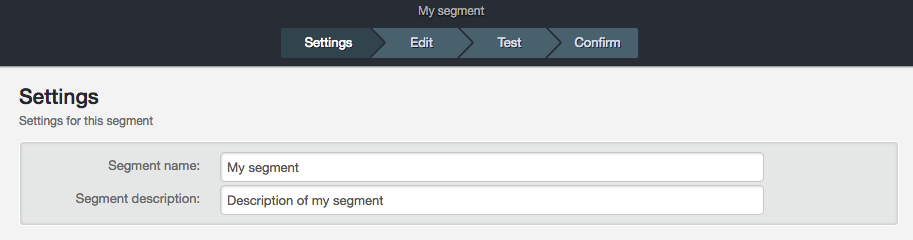
SETTINGS
Here you’ll name your segment and, if wanted, write a description.
You can also tie your segment to permission groups if needed.
EDIT
This is where you build the actual segment and where the true action is. More about that ahead.
TEST
Testing is crucial when creating segments! Here you test the segments on your list to see if the numbers looks alright.
CONFIRM
When you’re done you publish your segment here and after that it’s ready to go.
You can also export the result of the segment including wanted recipient attribute data so that you can truly verify your segment.
Let’s take a look at the segment editor
When opening the editor you’ll find a droppable area where you build your segment and to right you have a menu with available operation types.
You can build segments based on following operation types:
1. Recipient attributes – to target recipients with a certain value in an attribute.
2. Recipient activity – to target recipients based on their behavior in previously sent emails (received/not received, opened/not opened and clicked/not clicked).
3. Recipient status – to target recipients based on Carma’s status data (e.g. bounced and date created).
4. Segments – to combine previously created segments.
5. Purchase History – to target recipients based on purchase history data.
You can mix the different types and choose to include or exclude the selections.
When you’ve selected an operation type you’ll choose the action and drag it into the droppable area where you state your conditions.
Depending on operation type and conditions you’ll get different options in your editing.
The example below shows a segment based on the operation type Recipient attributes that matches all recipients with the value “Berlin” in the recipient attribute “City”.

More about building different types of segments can be found here.
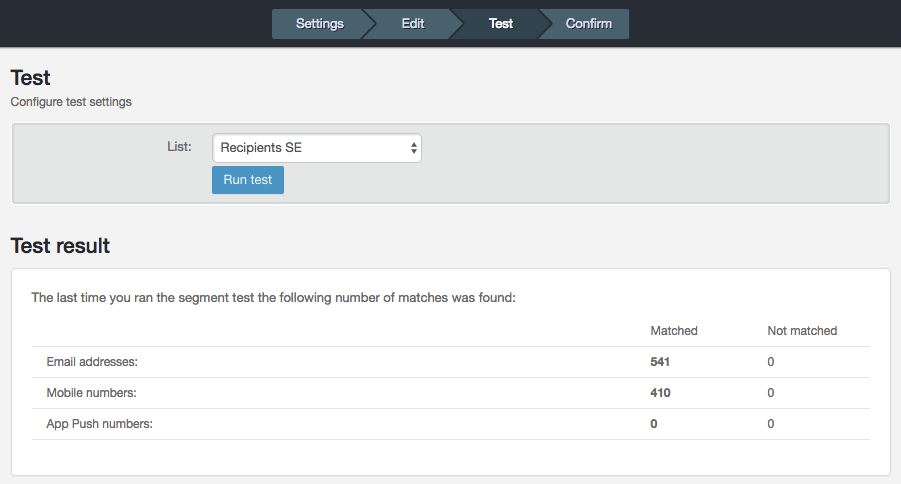
Testing your segment
Adopt the habit to always test your segments before publishing, regardless how simple they are.
Go to test and choose your list in the dropdown menu and hit Run test. The result will be presented as in how many recipients on your selected list that matches the segment (hard bounces and unsubscribes are not included) depending on channel (email, sms or push).
Publishing a segment
When you’re done editing you need to publish your segment to make it available for use. Just toggle the publish bar.
Export test result
If you would like to download a file with all matching recipients you hit Export segments. The recipient attributes used in the segment will be pre checked but you can choose as many attributes as you like.
Learn more about segments here.