
Sender & Reply addresses - Setup
First of all, we suggest you read this article: Sender & Reply addresses – Best Practice
New address
Once you know which sender address and reply address you will be using, you are now ready to set this up.
- Create these addresses on your domain, if you don’t already have them in use.
- Login to Carma and select Account settings in the menu
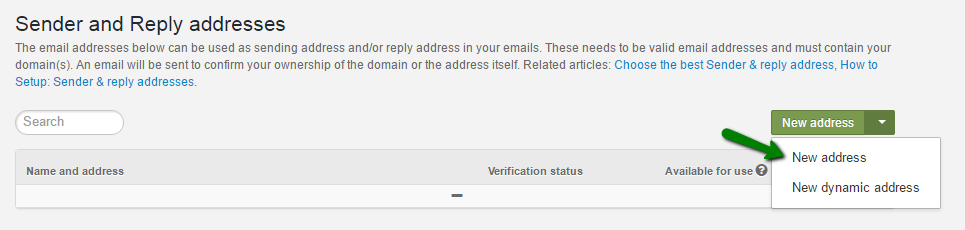
- Select Sender & Reply addresses in the left menu
- Click on the “New address” button and click on “New address”.
- Type your sender name and address:
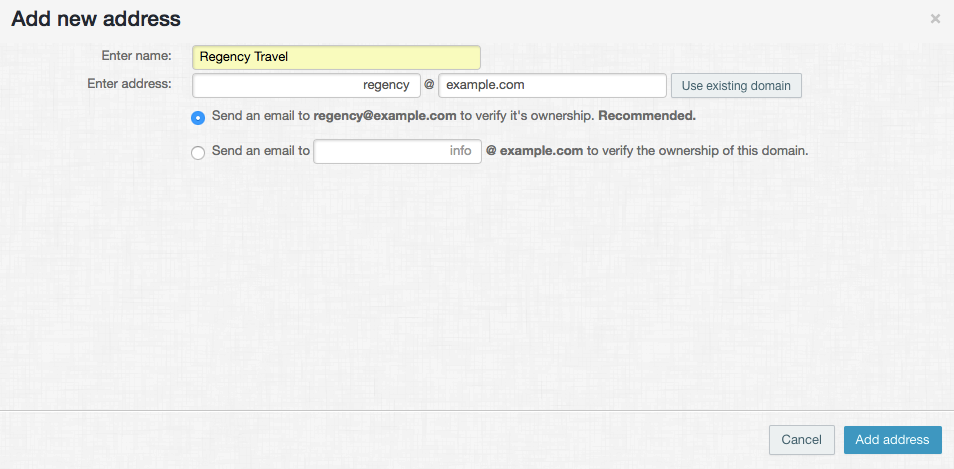
- Click on “Add address” and an email will be sent to the added address
- Check the inbox and click on the confirmation link
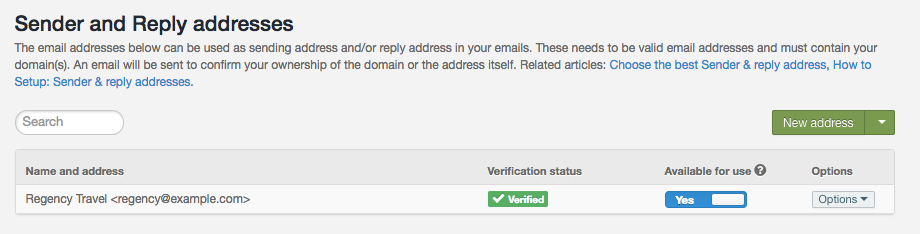
- Once the address is verified you can make i available for use:
- Go to Account Settings > Project > Projects settings and select the default sender- and reply address for each project
New dynamic address
You can set up dynamic sender and reply addresses with help from Snippets. 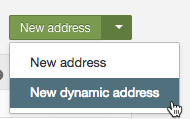 You start by creating a snippet that contains the handlebars from where the data to the adress should be taken. When you have set up the snippets you need you are able to choose the snippets when creating a new dynamic adress.
You manage your Snippets under Account Settings > Snippets.
Let’s say we have two stores and we want the store manager to be the sender of our emails. Depending on the value in the recipient attribute CITY the sender address should be different. If CITY = Stockholm the sender name should be “Bruce” and the address “bruce@example.com” but if CITY = Gothenburg the sender name should be “Madonna” with sender address “madonna@example.com”.
Then we need to create two snippets:
Sender name
{{#switch contact.city}}{{#compare "==" 'Stockholm'}}Bruce{{/compare}}{{#compare "==" 'Gothenburg'}}Madonna{{/compare}}{{#default}}The Store{{/default}}{{/switch}}
Sender address
{{#switch contact.city}}{{#compare "==" 'Stockholm'}}bruce@example.com{{/compare}}{{#compare "==" 'Gothenburg'}}madonna@example.com{{/compare}}{{#default}}thestore@example.com{{/default}}{{/switch}}
You can read more about handlebars placeholders here!
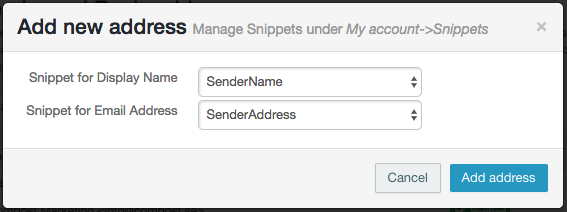
Now we can click New Address and select “New dynamic address”.
From the dropdown we select our created snippets for name and address and hit the “Add address” button:
Just make sure your sender domain is authenticated before you add a dynamic address.