Create AppPush
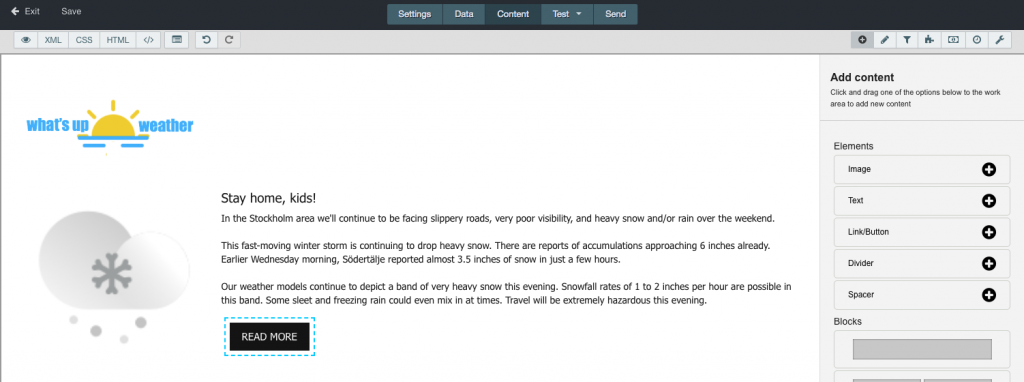
Before you start, since App Push supports all type of content and styling you should make sure that you have a responding template editor to enable a richer content. If you have an email template editor you can use it aswell but you won’t be able to create web supported content.
When you want to create an App Push you first choose the module (campaign, autosend or transactional) for your send out and hit Create new.
First you need to decide which platform you want to send the notification to. Carma supports iOS, Firebase (Android), Windows and QQ. Note that this doesn’t necessary mean that you support all applications and/or have implemented Carma for each of these platforms.
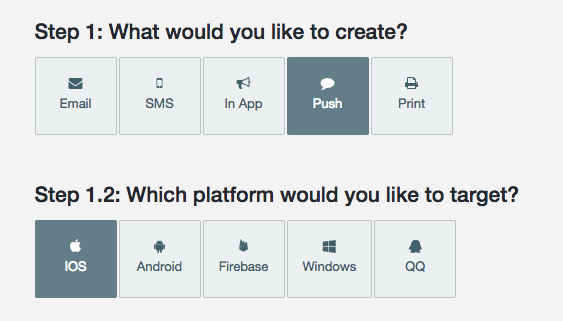
Then you select the project and template you want to use and hit Create.
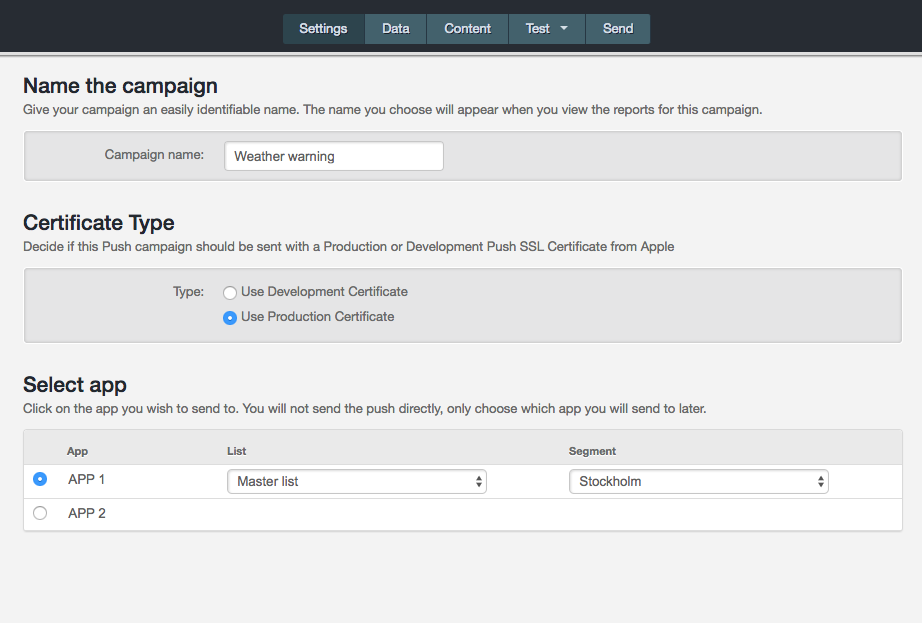
The editor will open and you enter your settings like the internal name of your message and the certification type (iOS).
Select which app you want to use for your Push (you can connect several apps to Carma but you need to select one of them when sending a notification).
Then select the list and, if any, segment you want to send to.
And then you also need to edit the push notification data.
But, before we continue…
When you create a push notification it’s important to know how you have implemented your application with Carma. This is important since the integration affects what settings and content you might need to edit in your draft in Carma.
The developers on your end are free to implement the Push functionality in different ways.
The main question for you is:
“What happens when a recipient clicks on a push notification?”
If you don’t know the answer of that question you should turn your application developers. This is why:
Depending on how the implementation is made, there are different options here:
- Carma rich content will open. Carma offers a unique opportunity for you to create personalized landing pages that will open when the notification is clicked on. From here you can link to your app or to other destinations.
- Your app will open. If you want to redirect to a specific place in your app you can add meta data containing specific key values that will tell your app the destination of the recipients.
- Nothing will happen. Only the notification will be showed. You can add tracking to find out if it has been read.
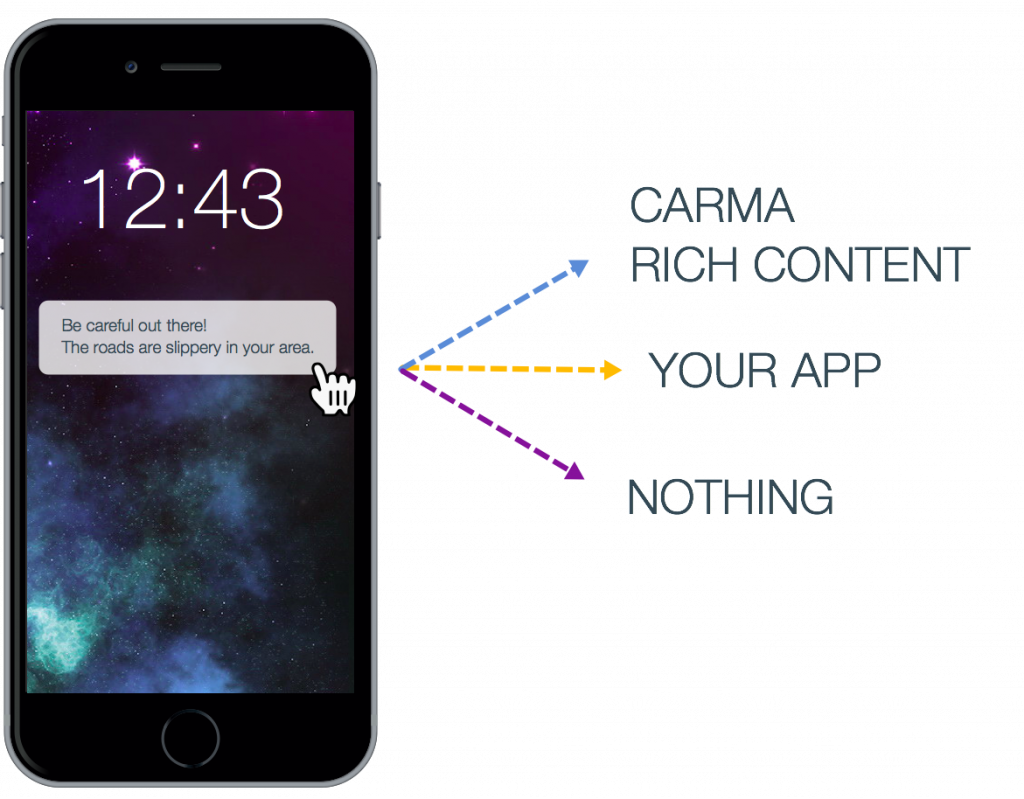
There could also be a combined solution of 1 and 2 where your app first checks if there are any key values with a destination, if yes, the app will open the given destination and if no, Carma rich content will open.
Data
On the Data tab, you edit the notification and, if any, meta data. Meta data could be the information you send to your actual application and you’re free to add as many extra key and values as you want. Default key and value pairs:
Alert – the first row in your notification
Info – the second row in your notification (mandatory for iOS)
Category – tag your notification
Badge – the number showing next to your app on the recipient device
Sound – the sound that will be played when a notification is received (if you have this built in your application).
In the example below we’ve added the custom key “app_destination” which in our example will tell our app to redirect to a specific place within the app when the recipients clicks the notification, the key value forecast will tell the app that specific place (method 2 above).
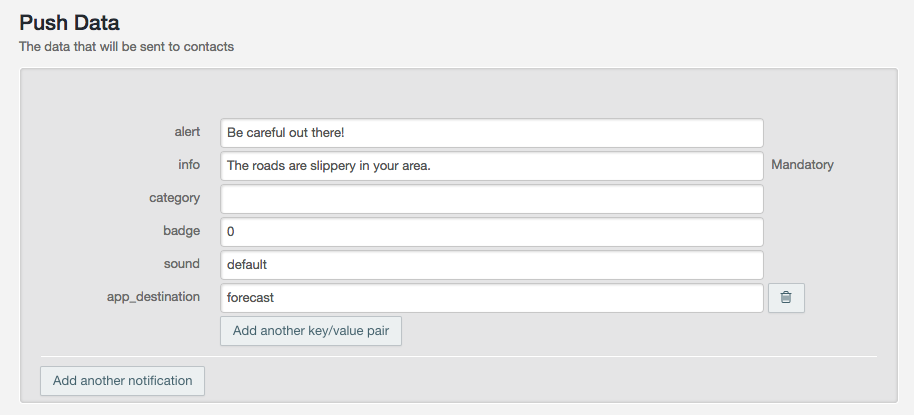
As mentioned above, you can also add custom key/value pairs depending on what data you want to provide your application with.
Carma rich content
On Content you can create a specific landing page which will open when opening the notification (method 1 above) edit your message the way you want it and add content segments. Here you have the chance to create a personalized message and link to your application.
