
How to set up a Marketing Automation Planner
Carma Marketing Automation planner is a great tool when you have one or more customer life cycle flows. It helps you to easily create, expand and overview your flows.
Basically, the planner is a window to view your autosends, transactionals and/or microsites. Instead of just having, let’s say, all your different autosends listed in the autosend view you can tie the ones that belongs to the same customer lifecycle flow to a map. And if you have a transactional sendout connected to the same lifecycle flow you also can tie this sendout to the planner and view the whole flow as a time line.
Please note! To use the planner you must have a Carma Premium account and one or more of the features Autosend, Transactional and Microsite activated. Contact support@compost.se if you have any questions regarding your account and/or its features.
So, how to manage the Marketing Automation planner?
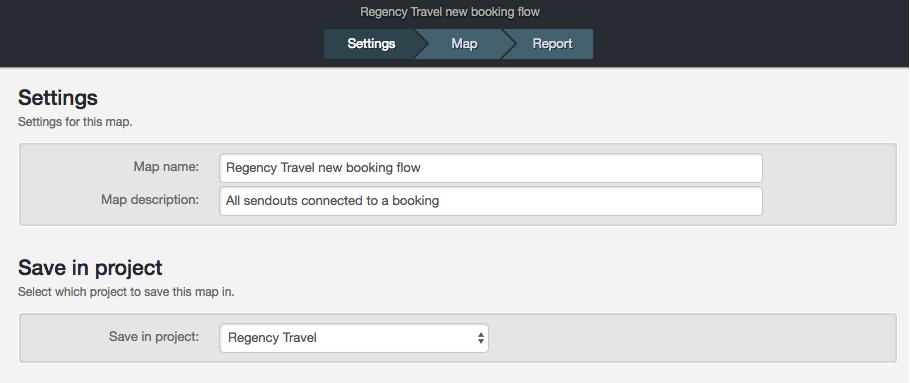
First, click on Marketing Automation Planner in the menu and hit Create new. Name your map and write a description if wanted, then choose the project you want to save your map in.
In this example I’m creating a map with all my automatic sendouts connected to a travel booking.
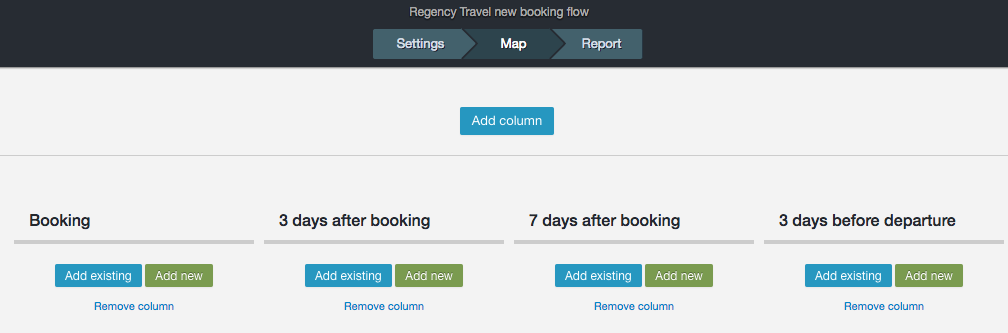
Then I continue to Map where I’ll manage my map. Here I start by adding my columns. The purpose of using columns is to make it easier for me to overview my map and can, for example, be a type of event, action or a specific day in my flow – consider it as a container, where you gather one or more sendout(s). You can create as many columns as you like and tie as many or few of your autosends and/or transactionals to the columns as you like. The sendouts are drag and droppable between the created columns.
Since I’m creating a booking flow I’d like to set up my map starting with the actual booking the following days after the booking and information before departure.
I click on Add column and create four columns one by one.
Then I’ll add my sendouts to the columns. I can either use an already created automation or create a new. For adding an already created sendout you simply click Add existing and choose among your saved sendouts.
I’m creating a new transactional email for my order confirmations.
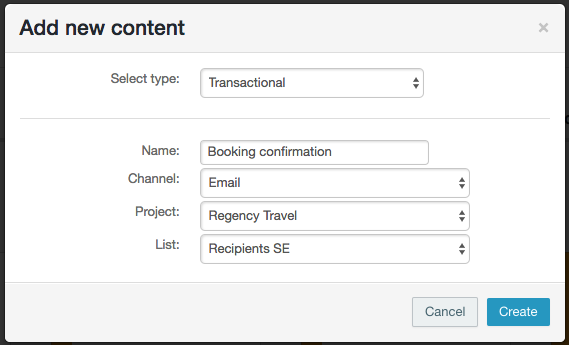
When I hit Create I’ll create the content of my email. Read more creating a transactional sendout here. When I’m done editing my email I’ll save it and it will be visible in my map:
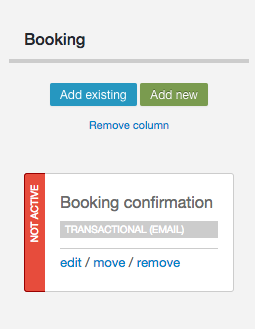
Note that your new sendout will be visible and editable from the Marketing Automation Planner aswell as from the head menu > Transactionals/Autosend.
Then I’ll continue adding my sendouts connected to a purchase and when I’m happy with my map I save it.
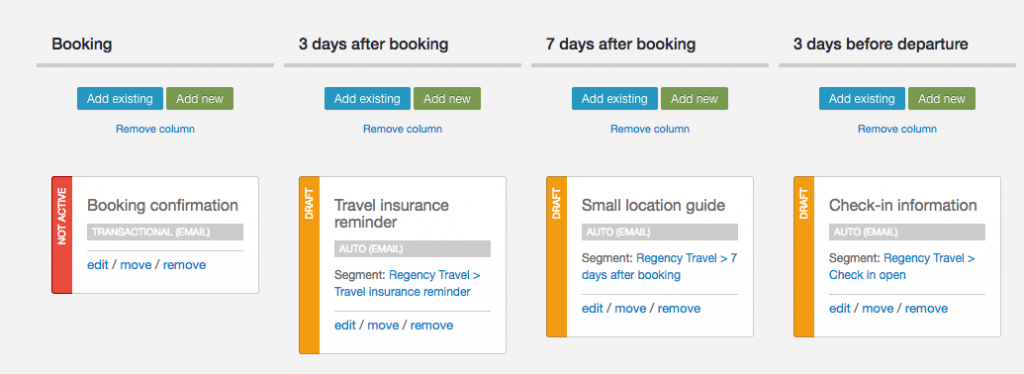
Until I activate all sendouts they will be marked as draft/not active as shown in the image above. After activation it till look like this:
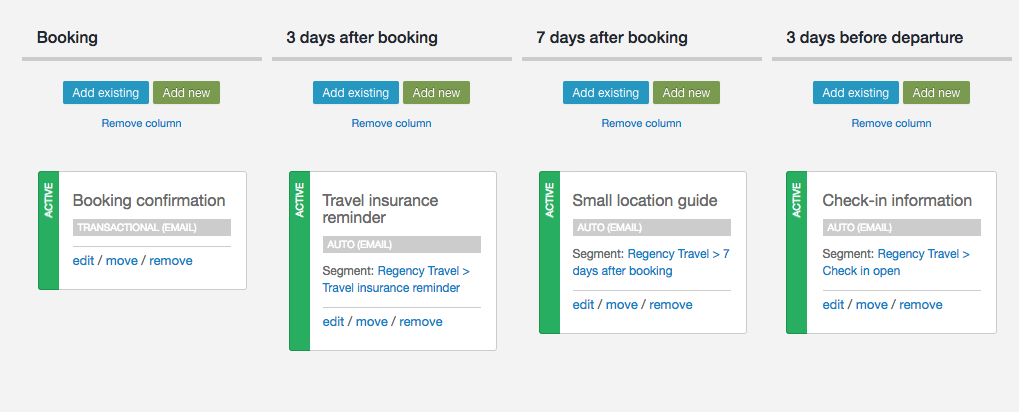
Autosend and segments
If you’re using an autosend you can access the segment being used by clicking on the segment name. If you want to change segment you click edit and the autosend settings will appear.
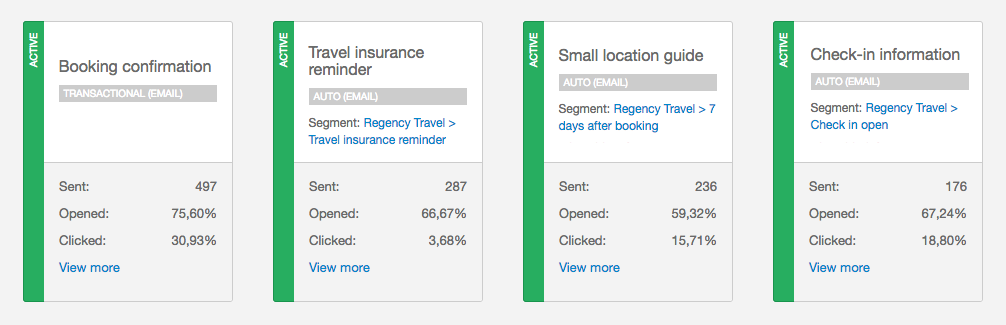
Statistics
The report tab will give you the total statistics of all sendouts tied to the map. By clicking View more on a sendout you’ll go to the detailed statistics of that specific sendout.
Please note that removing a sendout from the map doesn’t deactivate it. You must deactivate the sendout in the sendouts settings if you don’t it to send any more messages.